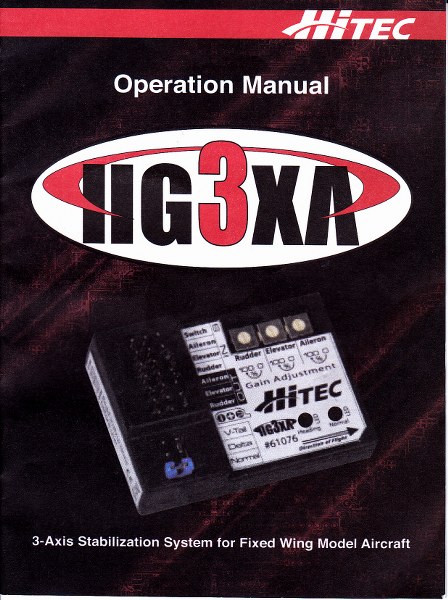
A couple of flying buddies spoke highly of the Hitec HG3XA flight stabilizer or gyro but I was surprised to find few reviews on YouTube. I was bringing a project to completion and I trusted their opinions so I ordered one to give it a try.
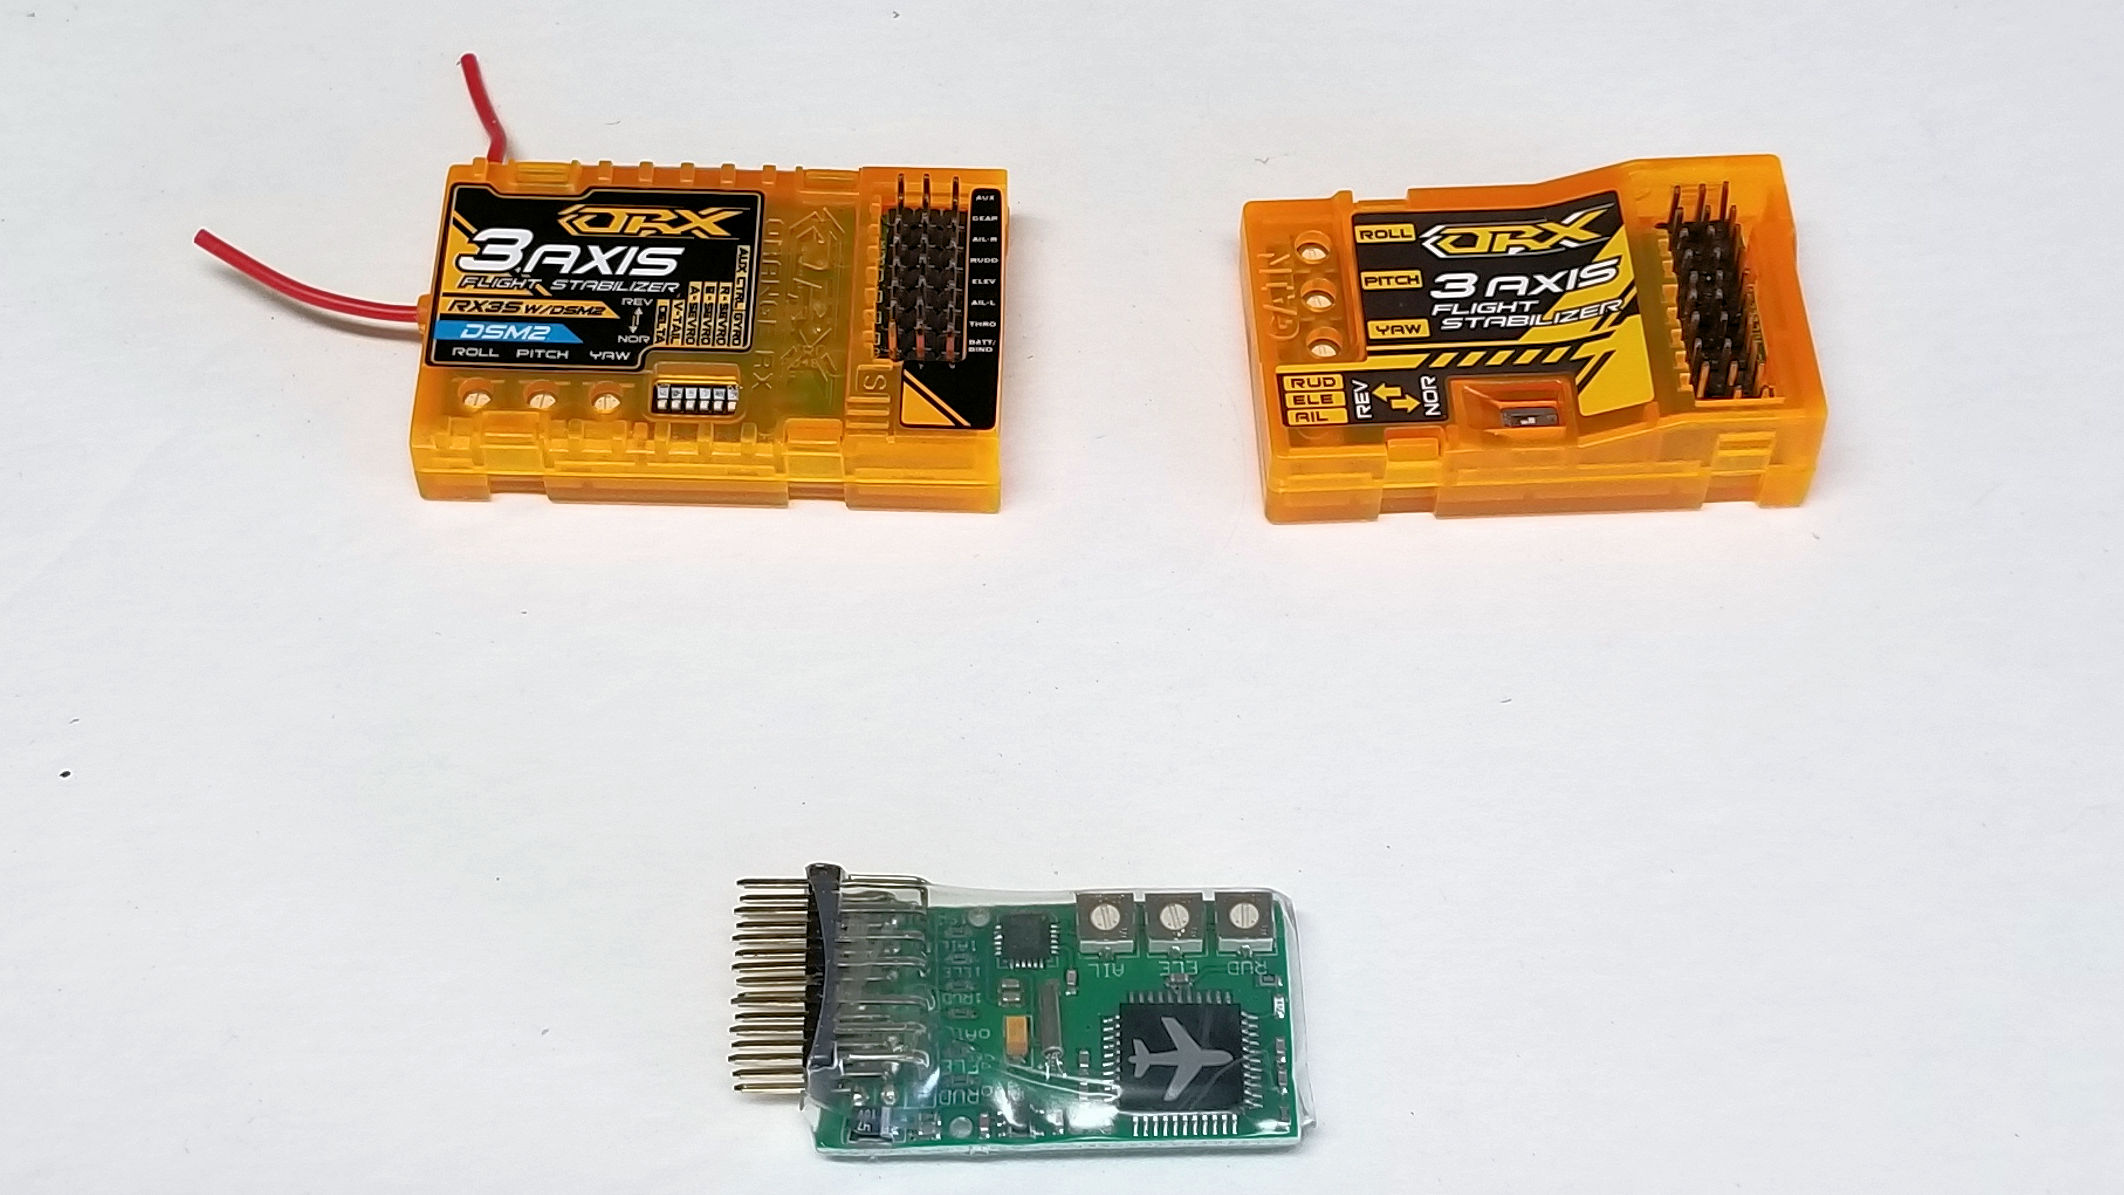
Model airplane gyros have been around for a while. They tend to group themselves into a couple of categories. In the low cost arena are circuit board stabilizers and separate stabilizers in protective cases. These stabilizers get hooked up between the model’s receiver and the respective servos.
Another category is the receiver – stabilizer combos where the stabilizer is located on the same board and in the same case as the receiver. In the Spektrum world you’ll see these marketed by Orange and Lemon. These stabilizers work just like the separate ones, they’re just in one box.
Going up the price ladder, are Spektrum’s AS3X equipped receivers with more features besides stabilization. There include beginner modes with pitch and bank limiting modes and even electronic fences to keep the plane from flying off.
Top end stabilizers can be a bit pricey but include a great deal of adjustability and are often programmed through one’s computer.
The Hitec HG3XA falls into the first category. It is a separate stabilizer that mounts between the receiver and the servos and is priced at under $30 as of this review.
You can see the stabilizer is mounted to the floor of the model’s equipment bay. Hitec recommends mounting the stabilizer close to the center of gravity and with the arrow on the device pointing forward. One mistake I’ve made with these small stabilizers is to not mount them firmly to the model. Here I used the narrow double-sided foam pads to secure the HG3XA. Mounting the stabilizer with Velcro is not a good idea. The Velcro can allow the stabilizer to move around causing stabilizer inputs to the model or it can cancel out the small movements resulting in no stabilizer inputs at all. Neither situation is good.
The HG3XA allows for transmitter control of the stabilizer’s modes. It has three.
The first mode is Off. Obviously when off, it provides no inputs.
The second mode is called standard mode. In this mode, the stabilizer provides control inputs opposite to the plane’s movements beyond those made by the control sticks. This is the mode that will help dampen the effect of wind or turbulence on the model.
The third mode is called Heading Hold mode. In this mode the stabilizer will maintain the airplane in the attitude it’s in when the mode is selected. For example, one of my flying buddies does some 3D maneuvering. When he gets his model going straight up, he flicks the switch and then only had to manage the power to keep the plane in a hover. Same with a knife edge pass. Yeah, it’s cheating but it’s still pretty cool.
For this to work, you’ll need to have an open channel with a three position switch. This means you’ll need to count channels before just going out and getting your standard receiver. If your model has the normal four channels plus gear and flaps, you’ll need at least a seven channel transmitter and receiver.
You can get by with a two channel switch but you’ll be limited to only two of the modes.
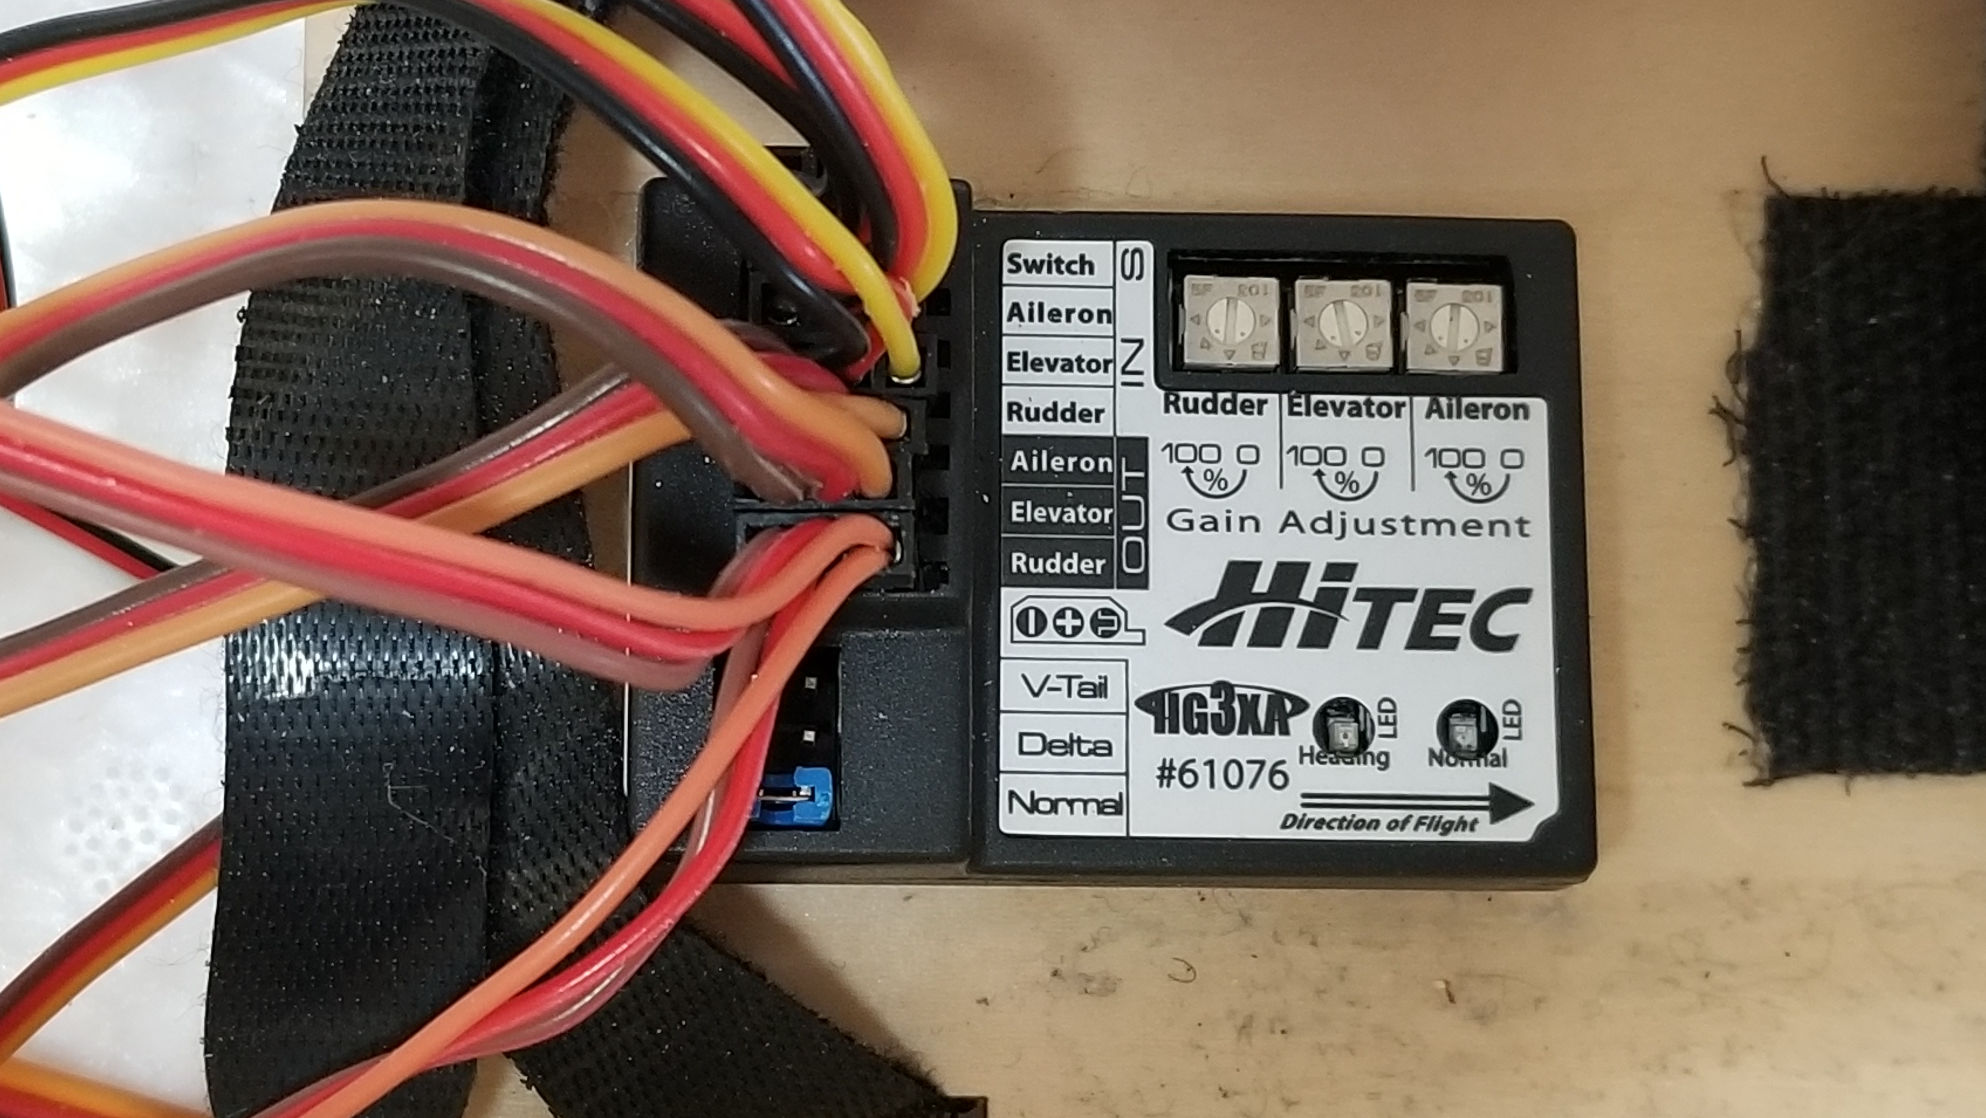
As you can see in the picture, the HG3XA uses jumpers to specify what type of control system the airplane uses. You have three choices: Standard aircraft with separate aileron, elevator and rudder, V-Tail aircraft with ailerons and elevator and rudder mixed on the tail, and Delta wing aircraft with aileron and elevator mixed on the wing and a separate rudder.
![]()
The last controls I’ll mention are the three potentiometers or pots used to adjust sensitivity for the three axes. Use a small screwdriver to add or subtract sensitivity between flights to get your desired degree of stabilizer input.
![]()
With a whole equipment bay full of wires, it’s important to get the right control surface lead connected to the right input. I found the little sticker didn’t quite line up with the various pins so be sure to count the pin connectors don’t just plug it in where the sticker shows. For example, the elevator input is the third pin set from the top.
![]()
With the wires from the receiver properly connected to the input pins and the servo leads properly connected to the output pins, you’re nearly ready. Assuming you have your transmitter properly set, there is one more step. With the propeller off or with the receiver powered independently, turn on your radio and apply power to the receiver while holding the airplane level and still.
The HG3XA’s red and blue LEDs will flicker and then the blue LED will flash signaling the gyro is ready. Center all the control surfaces using mechanical adjustments and trim buttons with the gyro off. Switch the gyro to standard mode and look for the blue light. Next quickly move the gyro control switch to heading hold mode and back twice within a second. This will tell the gyro what centered looks like.
I was a little slow on the switch and didn’t get it to take the first time I tried it. Click the switch as quickly as you can.
If you’re flying a new model, you’ll probably want to fly with the gyro off until you get the model properly trimmed. If you end up moving the control surfaces much, do the middle adjustment procedure again. When you’re pretty happy with how the plane flies, switch the gyro to standard mode to make sure things work as advertised. You should double check the control movements before flight but be ready to turn off the gyro if anything unexpected occurs.
I’ve got my AG3XA stabilizer mounted in a Carbon T-28 and have been pretty happy with the results. I haven’t had a bunch of wind to content with yet, but it’s noticeably smoother when the standard mode is engaged. As I mentioned earlier, flying buddies enjoy the heading hold mode for their 3D maneuvers.
Here is the video review of the Hitec HG3XA.

![]()